The Ultimate Havasu Falls Hiking Guide
Havasu Falls is a piece of paradise on Earth. No amount of photographs can do it justice! Located at the bottom of the Grand Canyon in Arizona, it has breathtaking scenery and waterfalls.
For centuries, the Havasupai Tribe has protected the Grand Canyon’s natural beauty on their territory, making them the proud proprietors of these natural treasures.
If you’re hiking Havasu Falls, there’s a lot you need to know. Consider this post to be a one-stop-shop for all your Havasupai Falls hiking needs.
We’ll provide you with all the information you need to know about hiking Havasu Falls, from the falls and the various hikes to packing your gear.
Why Should You Hike Havasu Falls?
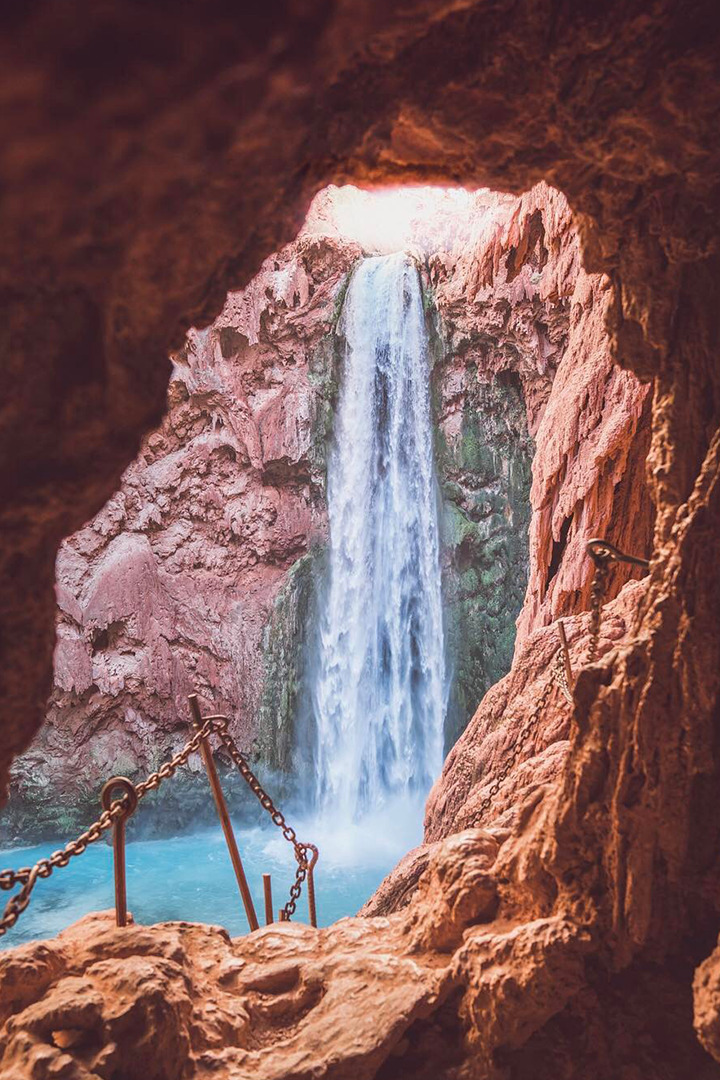
From a beautiful red rock, a stream of emerald-blue water flows. Light from the shifting sun illuminates the canyon in various shades and colors, from a dark amber-red to a vibrant blue. Intricate colors that seem to have been painted on a canvas are natural here – it’s insane.
If you haven’t hiked Havasu, you definitely should. It’s one of the most magnificent climbs in the world and is certainly one of the most beautiful waterfalls in Arizona. There aren’t enough words to describe how breathtaking this oasis is in the middle of the desert.
The “Havasu Falls Trail” is named after one of the area’s five significant waterfalls, “Havasu Falls.” The Havasupai Indian Reservation is home to this section of Havasu Falls.
Originally known as the Havasu Baaja, or “people of the blue-green lakes,” the Havasupai Tribe is a nomadic people that live in this part of northwestern Arizona. The Havasupai Indian Reservation’s Supai Community is now the most isolated village in the United States.
Havasu Falls is really paradise in nature. Not only are the spiritual vibes pretty intense, but the views alone are just incredible. It’s better than Disney World!
The Havasupai Waterfalls
Before we get into the actual Havasu Falls hike, I want to go over the 5 waterfalls you can see along the way.
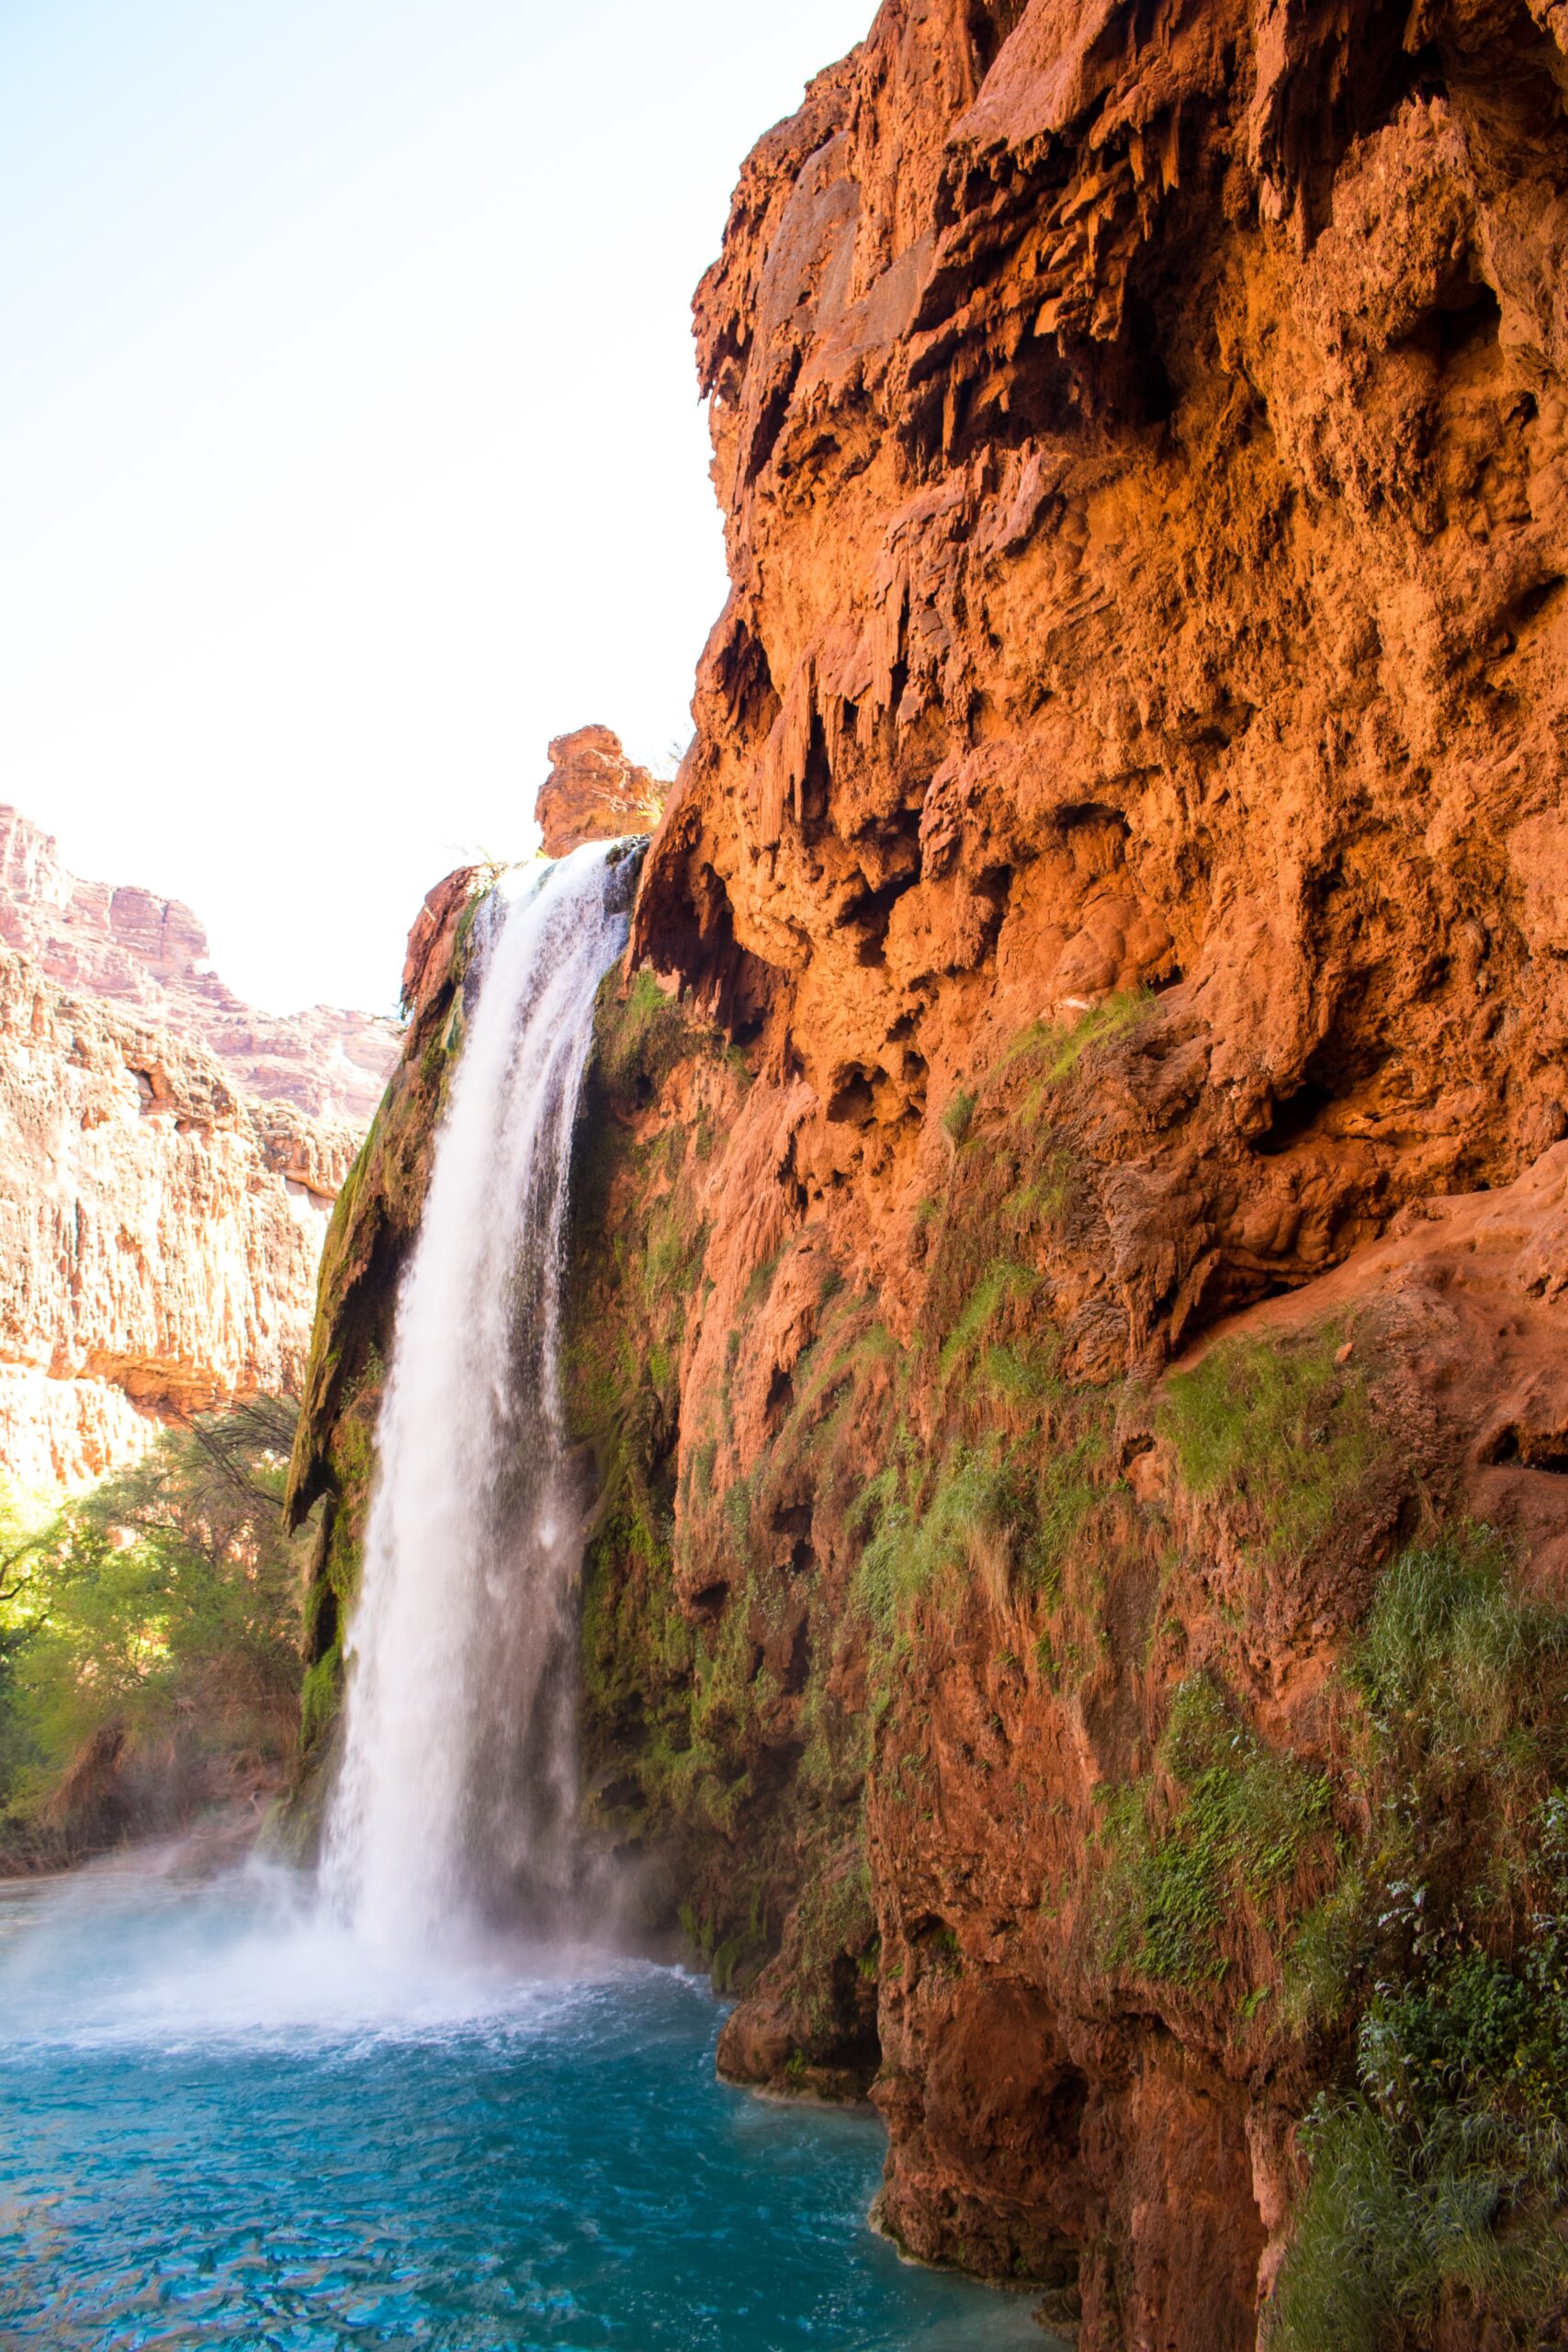
Havasupai is home to five of the world’s most impressive waterfalls. Most are commonly regarded as world-class in their splendor, like Havasu Falls and Mooney Falls. The term “Shangri-la of the Grand Canyon” is often used to refer to this location.
The following is the list of the Havasu waterfalls (in order) that you can view on the hike from Supai to the Colorado River.
1. Fifty Foot Falls (New Navajo Falls)
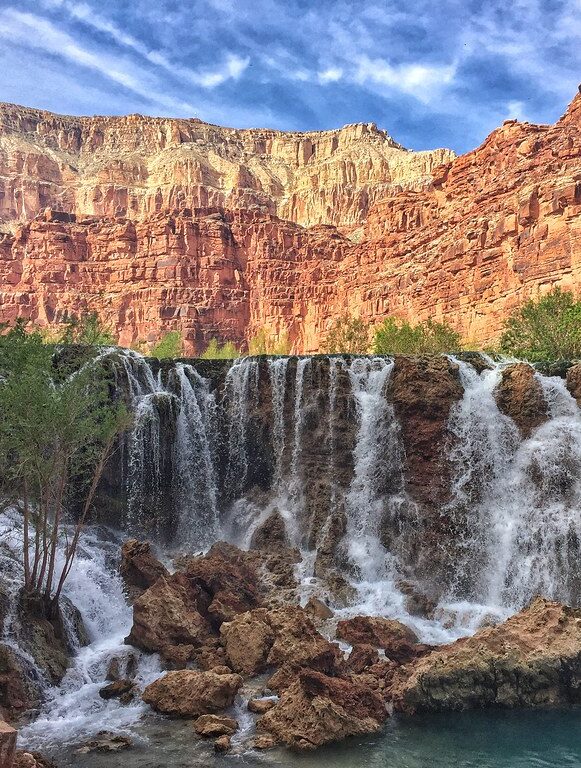
- 50 feet in height
- The result of the devastating 2008 floods and mudslides
- Compared to the other swimming holes, it provides better swimming conditions and is less crowded
- Situated around 0.8 miles upstream of Havasu Falls and about 1.0 miles below Supai Village
- Surprisingly, this is the nearest significant waterfall to Supai
2. Lower Navajo Falls (Rock Falls)
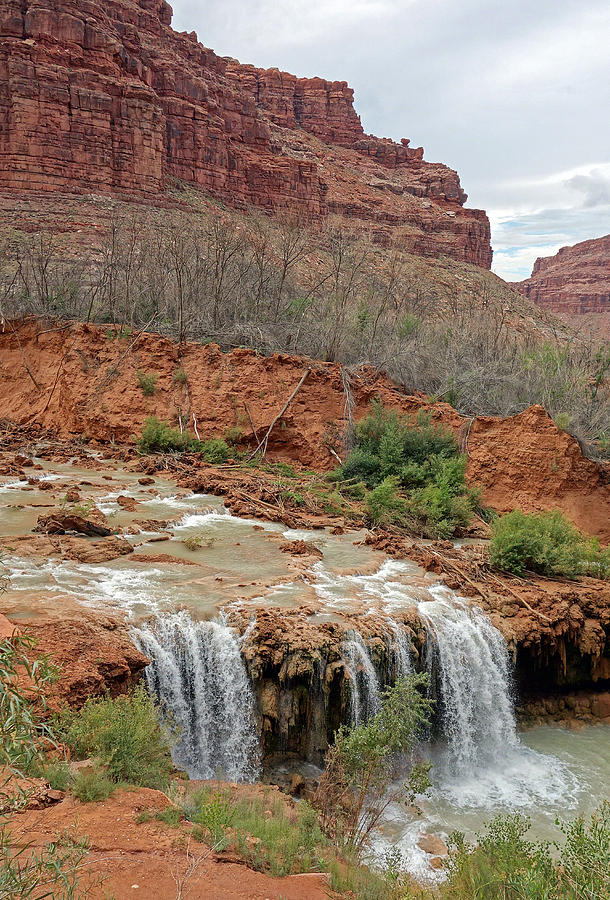
- 30 feet in height
- Created in part by the devastating floods and mudslides that struck the region in 2008
- Excellent swimming chances even though many of the sites are shallow
- About 0.15 miles of Upper Navajo Falls downstream
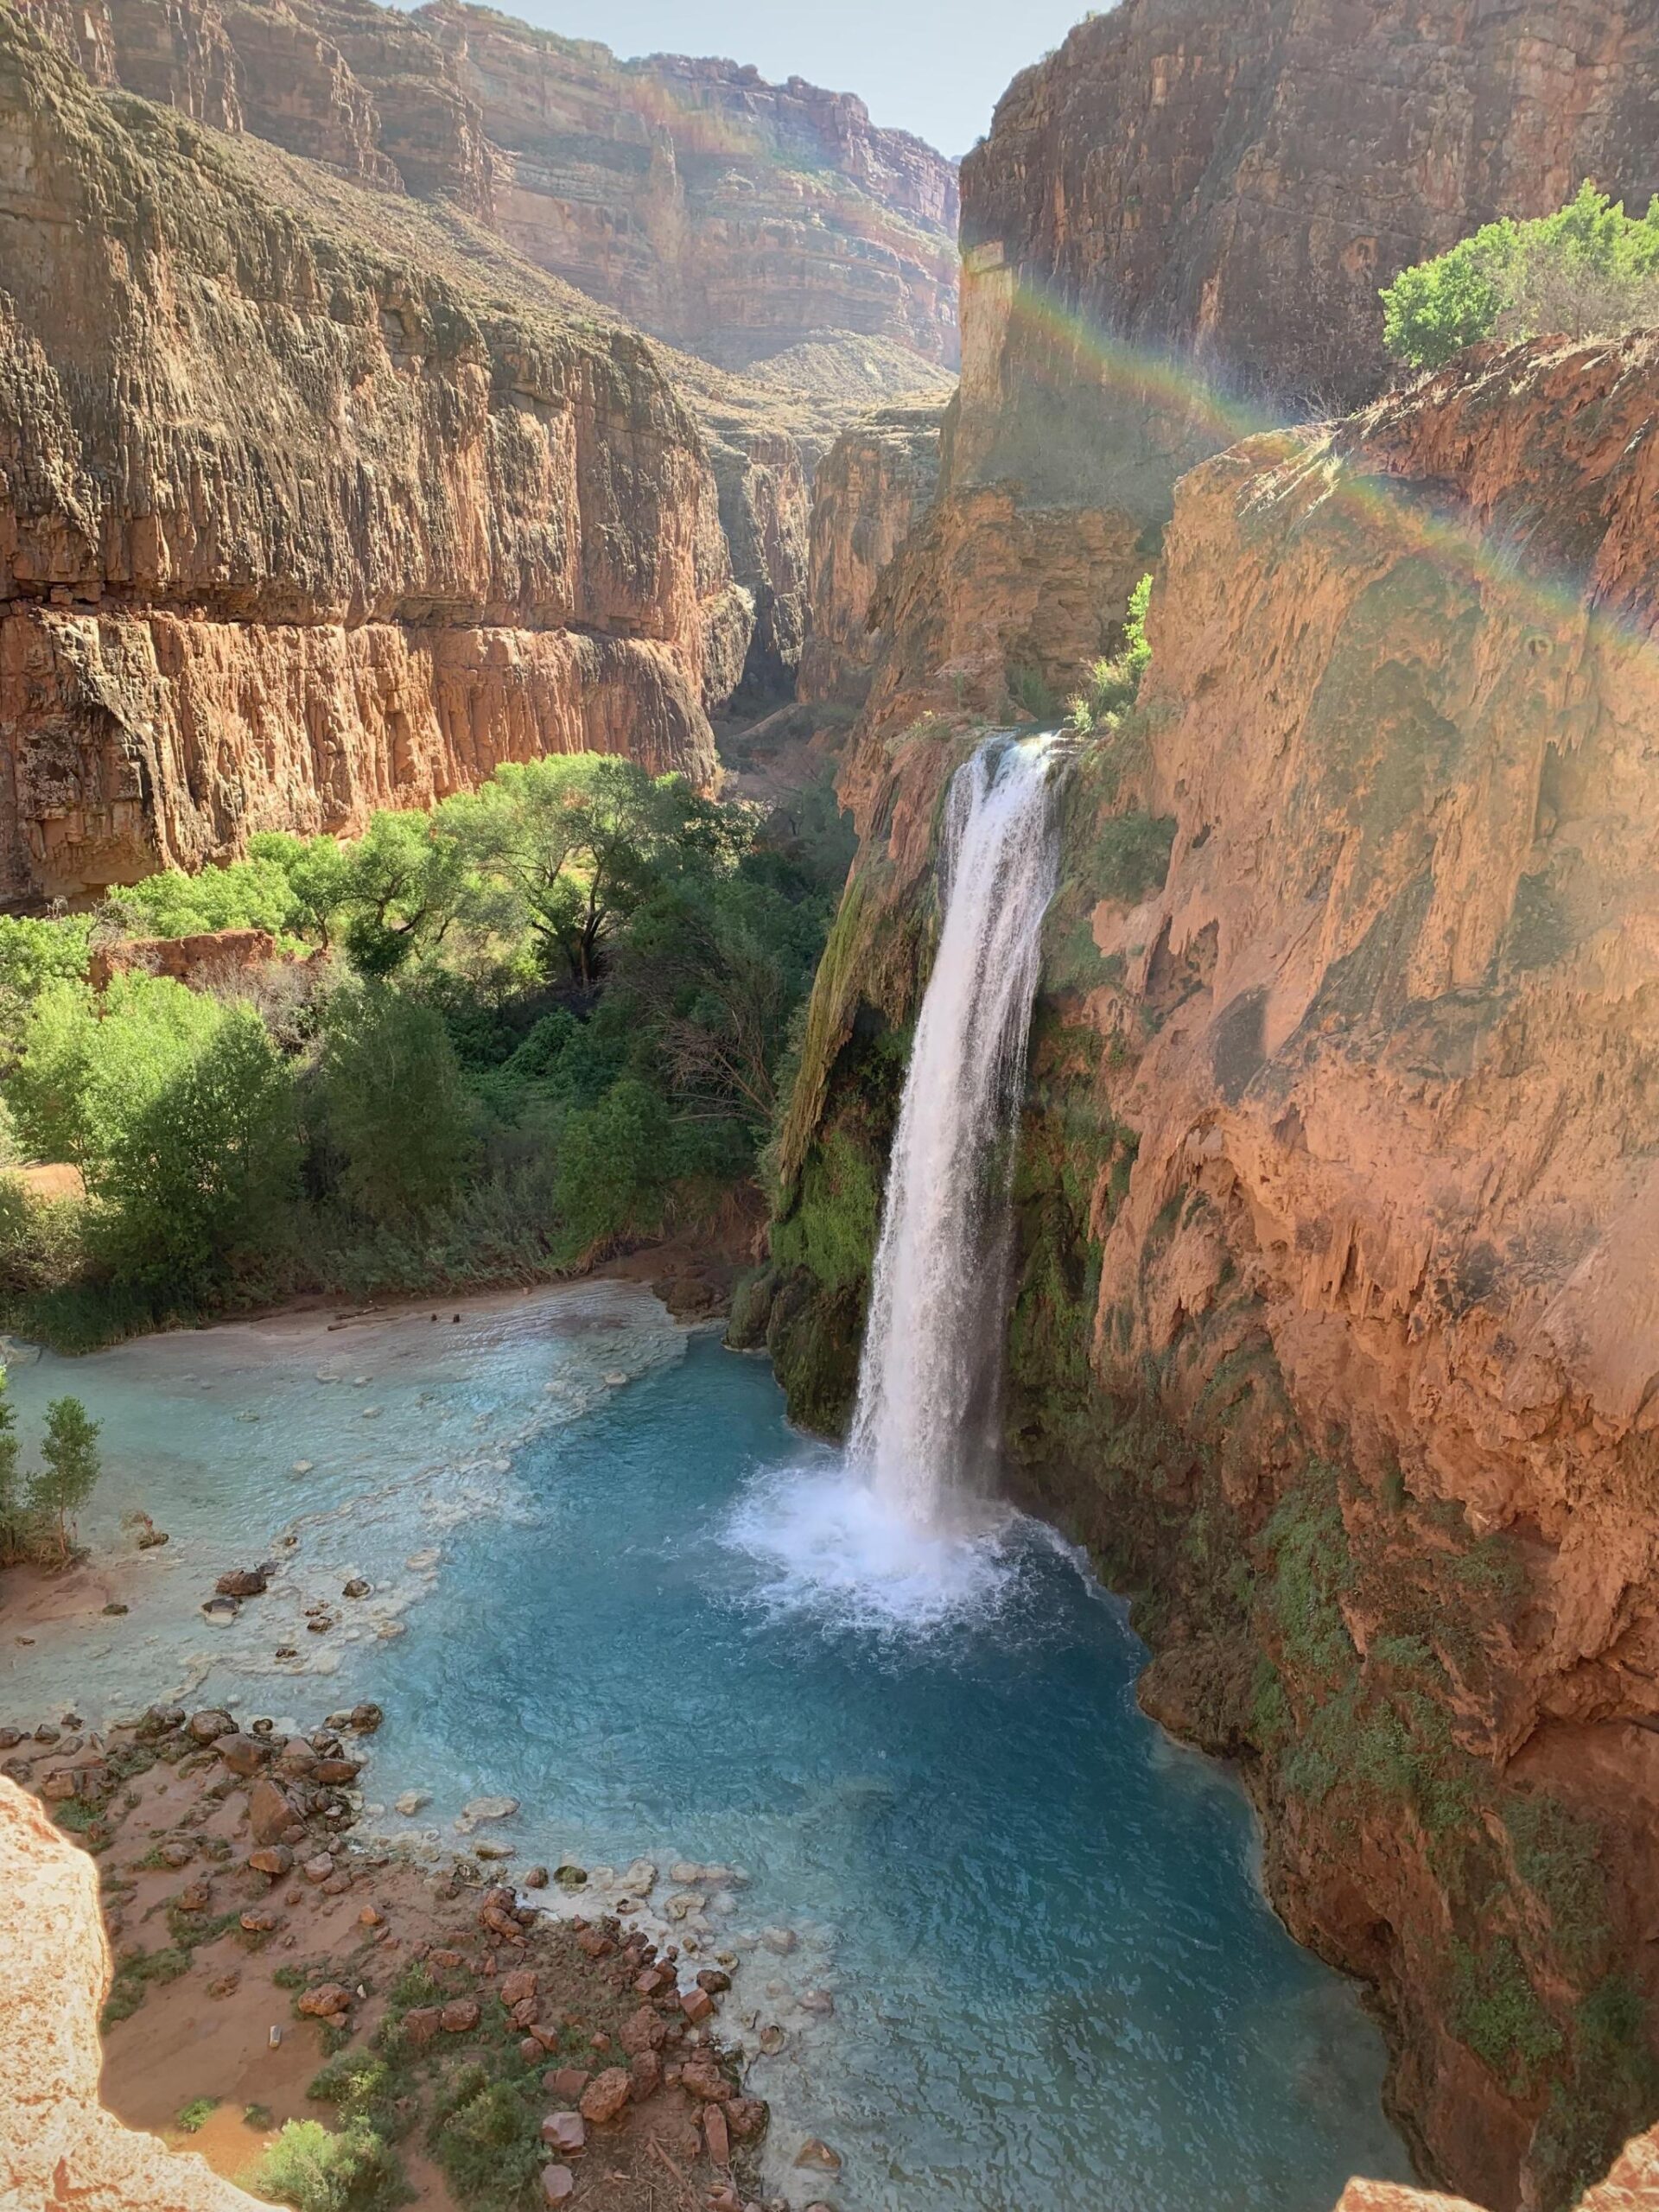
3. Havasu Falls
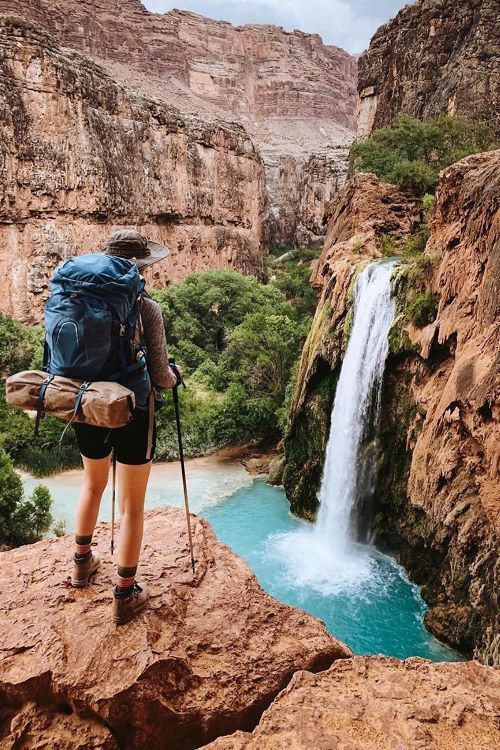
- 96 feet in height
- This waterfall is among the most well-known in Havasupai
- Provides a wide range of fantastic swimming options
- Situated immediately before the campsite (about 1.8 miles downstream of the Supai Village)
Don’t worry: Havasu Falls lives up to the photos in person. And unlike Mooney Falls, it’s pretty swimmable, making it a great place for families and adults. If you see nothing else on this trip you must see and hike Havasu Falls. Plus, it’s a really short hike!
4. Mooney Falls
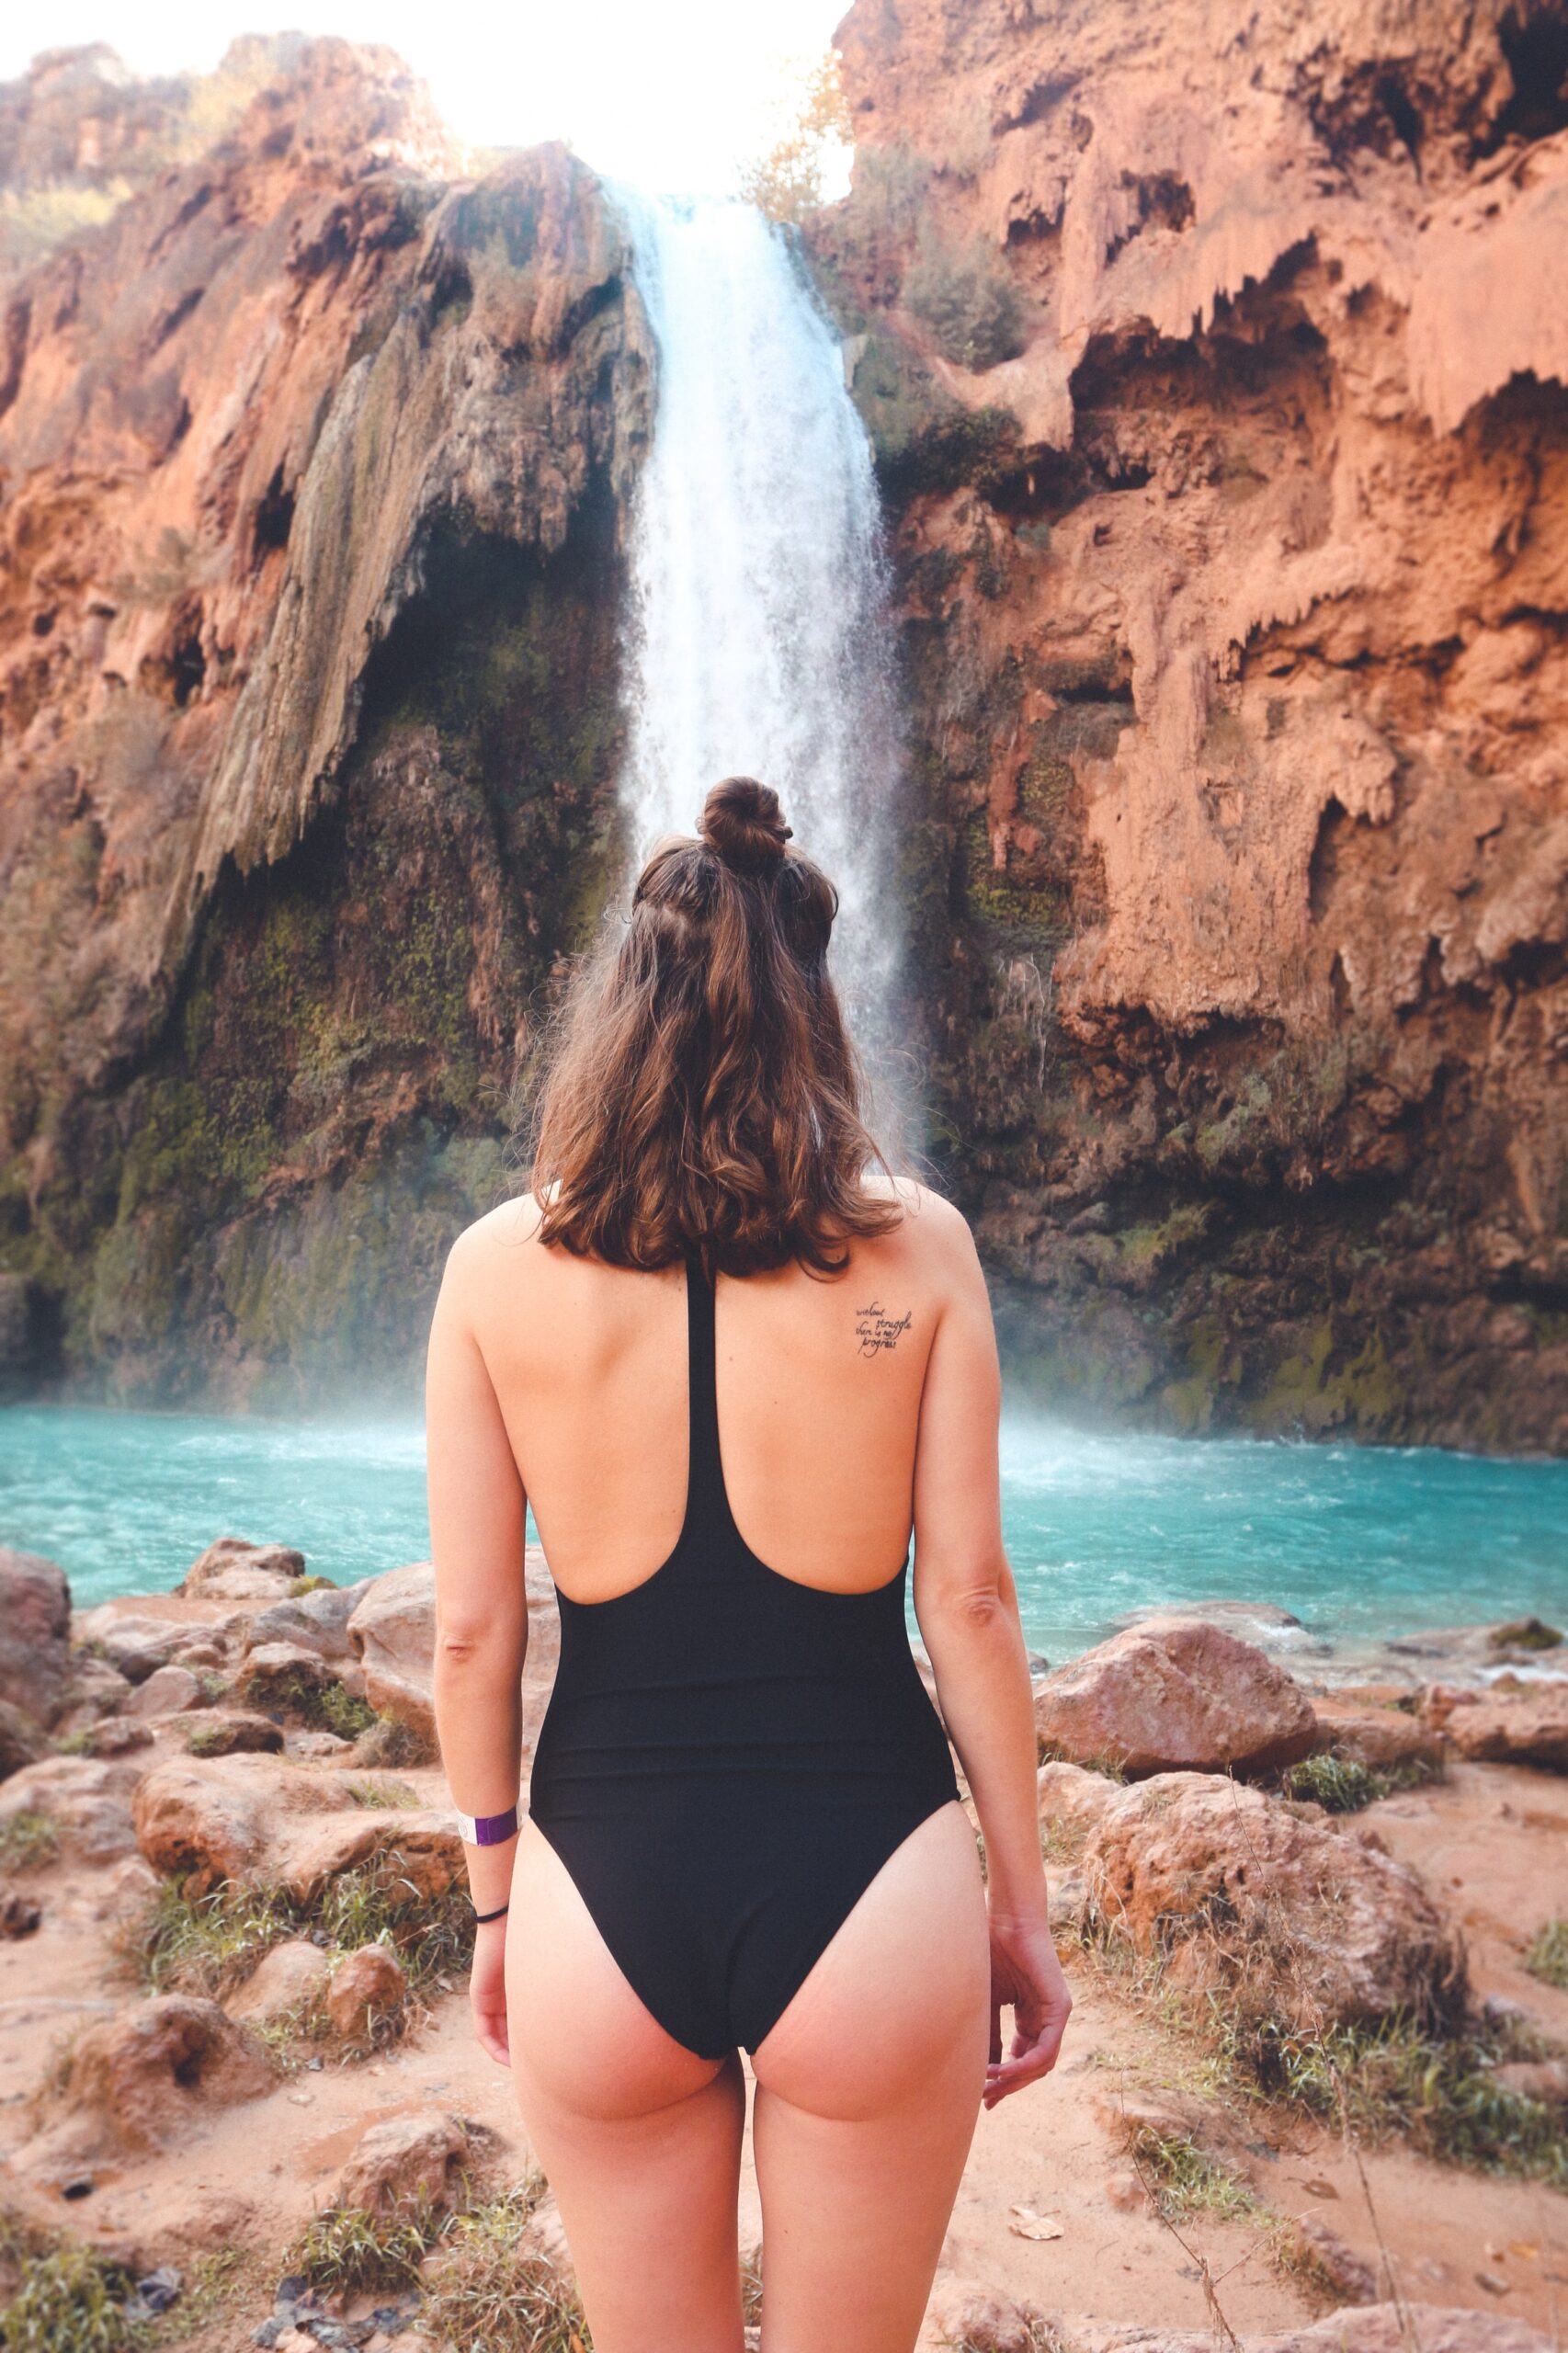
- 196 feet in height
- Although the flowing currents can make it dangerous, it is a fantastic place to swim at certain times of the year (check the signage)
- To get to the waterfall’s base, you’ll have to descend a sheer rock face (you’ll find shackles and ladders to help you along the way)
- Near the bottom of Havasu Falls, about a half-mile downstream from the campsite
Most people don’t realize that Mooney Falls is actually way bigger than Havasu Falls. However, hiking Havasu Falls is a lot easier, so not as many people actually make it to Mooney Falls. The climb down is more than a little treacherous.
5. Beaver Falls
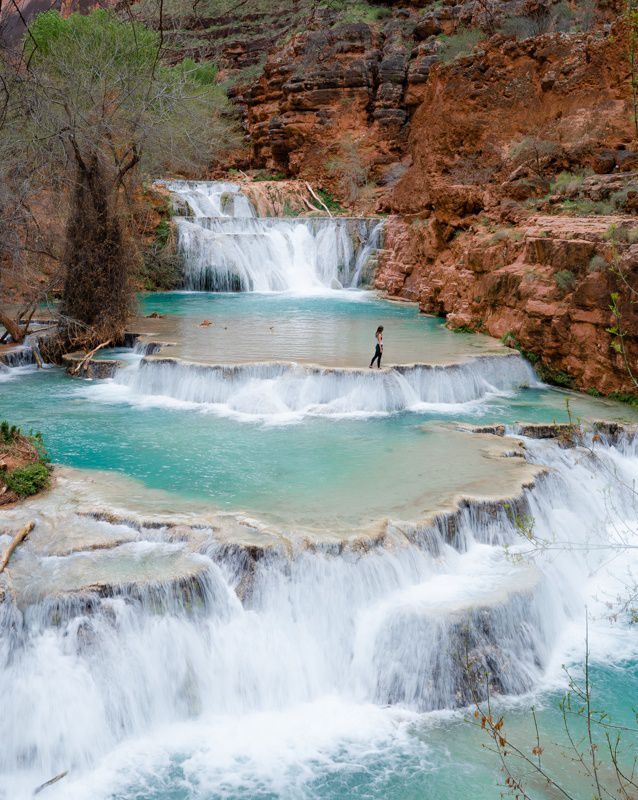
- 40 feet-high waterfalls that cascade over five levels
- Provides a wide range of fantastic swimming options
- Situated a distance of 3.0 miles from Mooney Falls
- To get here, you’ll need to trek 6.0 miles round trip across challenging and rocky terrain and cross multiple streams
- We don’t advise visiting Beaver Falls during the summer because of the excessive temperatures
At Havasupai, it’s challenging to select a favorite waterfall because they all have their own unique and beautiful traits. Beaver Falls would be our pick if we had to make a choice. It’s just the best place for swimming and actually hanging out.
The 6.0-mile round-trip journey to Beaver Falls from the campsite is famous, although only about half of the tourists to the Havasupai Indian Reservation do it.
If you don’t want to swim, then just hike to Havasu Falls and back – you’ll get incredible views without a super long trip.
Hiking The Havasu Falls: What To Anticipate
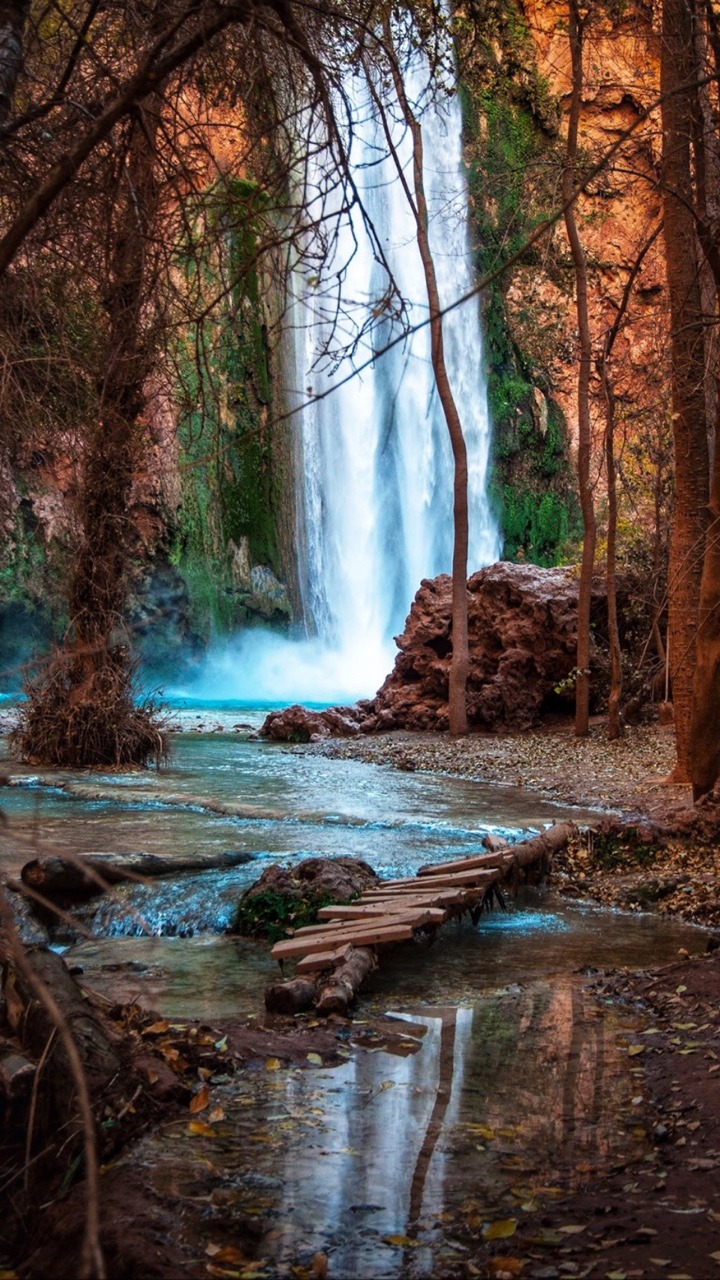
You can reach Havasupai and Havasu Falls by a 10.0-mile one-way climb that descends 2,400 feet in height, making it one of the more difficult hikes in Arizona. We can classify the trek to Havasu Falls as moderately challenging, yet it’s not difficult to follow at all because it’s well laid out. Inexperienced hikers can find things more complicated than they are.
Havasu Falls, the community, and the campsite are all accessible without much difficulty; however, the base of Mooney Falls requires a steep down-climb.
Most of the hike’s decrease in height happens within its first mile. A series of switchbacks eases hikers down a somewhat steep descent.
Between the trailhead and Supai (8.0 miles away), there are just a few places to rest under a tree. Thus, during the year’s hottest months, most hikers start early (between 3:00 and 6:00 am) to make the return journey as comfortable as possible.
After 7 miles of hiking downhill, there are no water sources to replenish one’s fluids. Bring at least 2 liters of water with you.
Most hikers need 5-6 hours to complete the 10.0-mile trail from trailhead to campsite. Quick hikers will take less time (4-5 hours), whereas slow hikers will take longer (6-7 hours). Most individuals spend 30-60 minutes longer on the trek back out than they did on the way in.
Hualapai Hilltop Trailhead to The Confluence
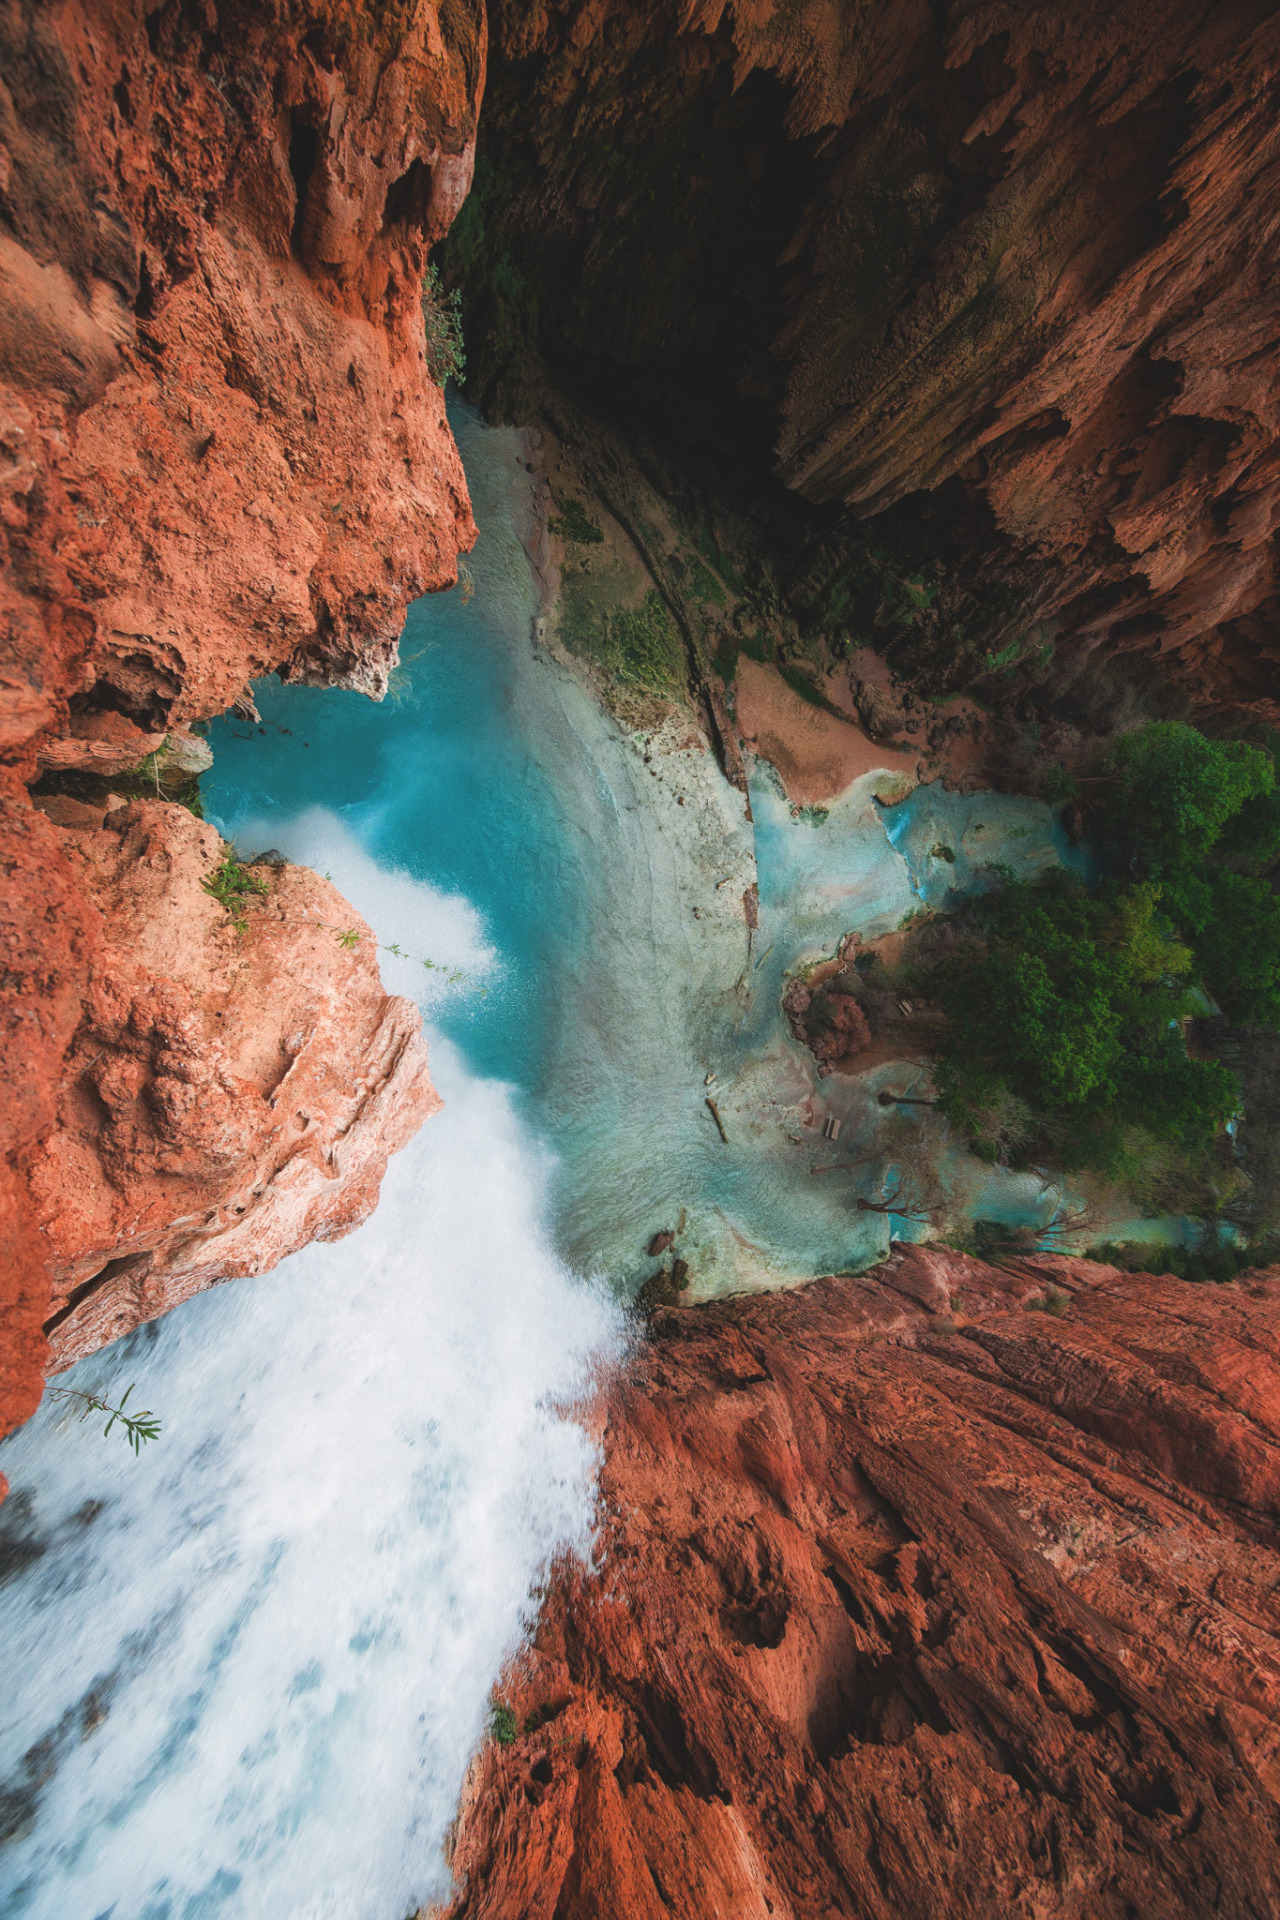
The information below provides you with the distances and elevations covered by the Havasupai Trail and the numerous locations that it leads to. We include a complete list of all the points of interest from the Hualapai Hilltop trailhead to the Confluence of Havasu Creek and the Colorado River:
- The trailhead at Hualapai Hilltop (5,200 feet in elevation) is the starting point for the hike.
- Havasu Creek is 6.7 miles (3,240 feet in elevation) from the trailhead.
- The Tourist Office / Village of Supai is at 8.0 miles (3,190 feet in elevation).
- The Upper Navajo Falls is 9.0 miles (3,095 feet in elevation).
- At an elevation of 3,018 feet, Lower Navajo Falls is about 9.15 miles.
- It takes 9.8 miles to reach Havasu Falls, at 2,812 feet in elevation.
- The campground’s starting point is 10.0 miles away, with an elevation of 2,741 feet.
- It takes 10.3 miles at 2,708 feet elevation from the end of the campground.
- You can reach Mooney Falls in 10.4 miles at 2,607 feet elevation.
- Beaver Falls is a 13-mile hike up a mountain (2,246 feet in elevation).
- The Confluence is a distance of 16.00 miles (elevation of 1,820 feet).
Things to Consider
It’s worth noting that most tourists only go to Havasu Falls or Mooney Falls. If forecasted high temperatures are approaching, there is no need to go farther than Havasu/Mooney Falls from June to September. In the colder months, seasoned hikers only should attempt extending their journey beyond Havasu and Mooney Falls. It is not part of the standard Havasupai experience to trek Beaver Falls or The Confluence.
Getting to the foot of Mooney Falls and continuing downstream requires an extremely steep descent down a precarious rock face. There are many chains and ladders that you can use to help you. Those afraid of heights can have a panic attack and have to get back down. It should be okay as long as you can help them overcome their modest fear of heights. To make the descent and ascent easier, some hikers pack gloves made of rubbery material.
Beaver Falls and The Confluence are optional excursions and should only be for experienced hikers during the colder months. Hiking over rocky and rugged terrain to reach these two unique places might be challenging at times. Many improvised bridges span Havasu Creek, and you’ll encounter a few tricky sections of scrambling. Hiking back from The Confluence is best done as soon as the sun comes up so that you have plenty of time to get there and back before the sunsets.
Always bring an updated Havasupai trail map, and find it on the official Havasupai Tribe website. The Havasu Falls hike tends to change (slightly) quite often from storms!
Havasu Falls Hiking Permits
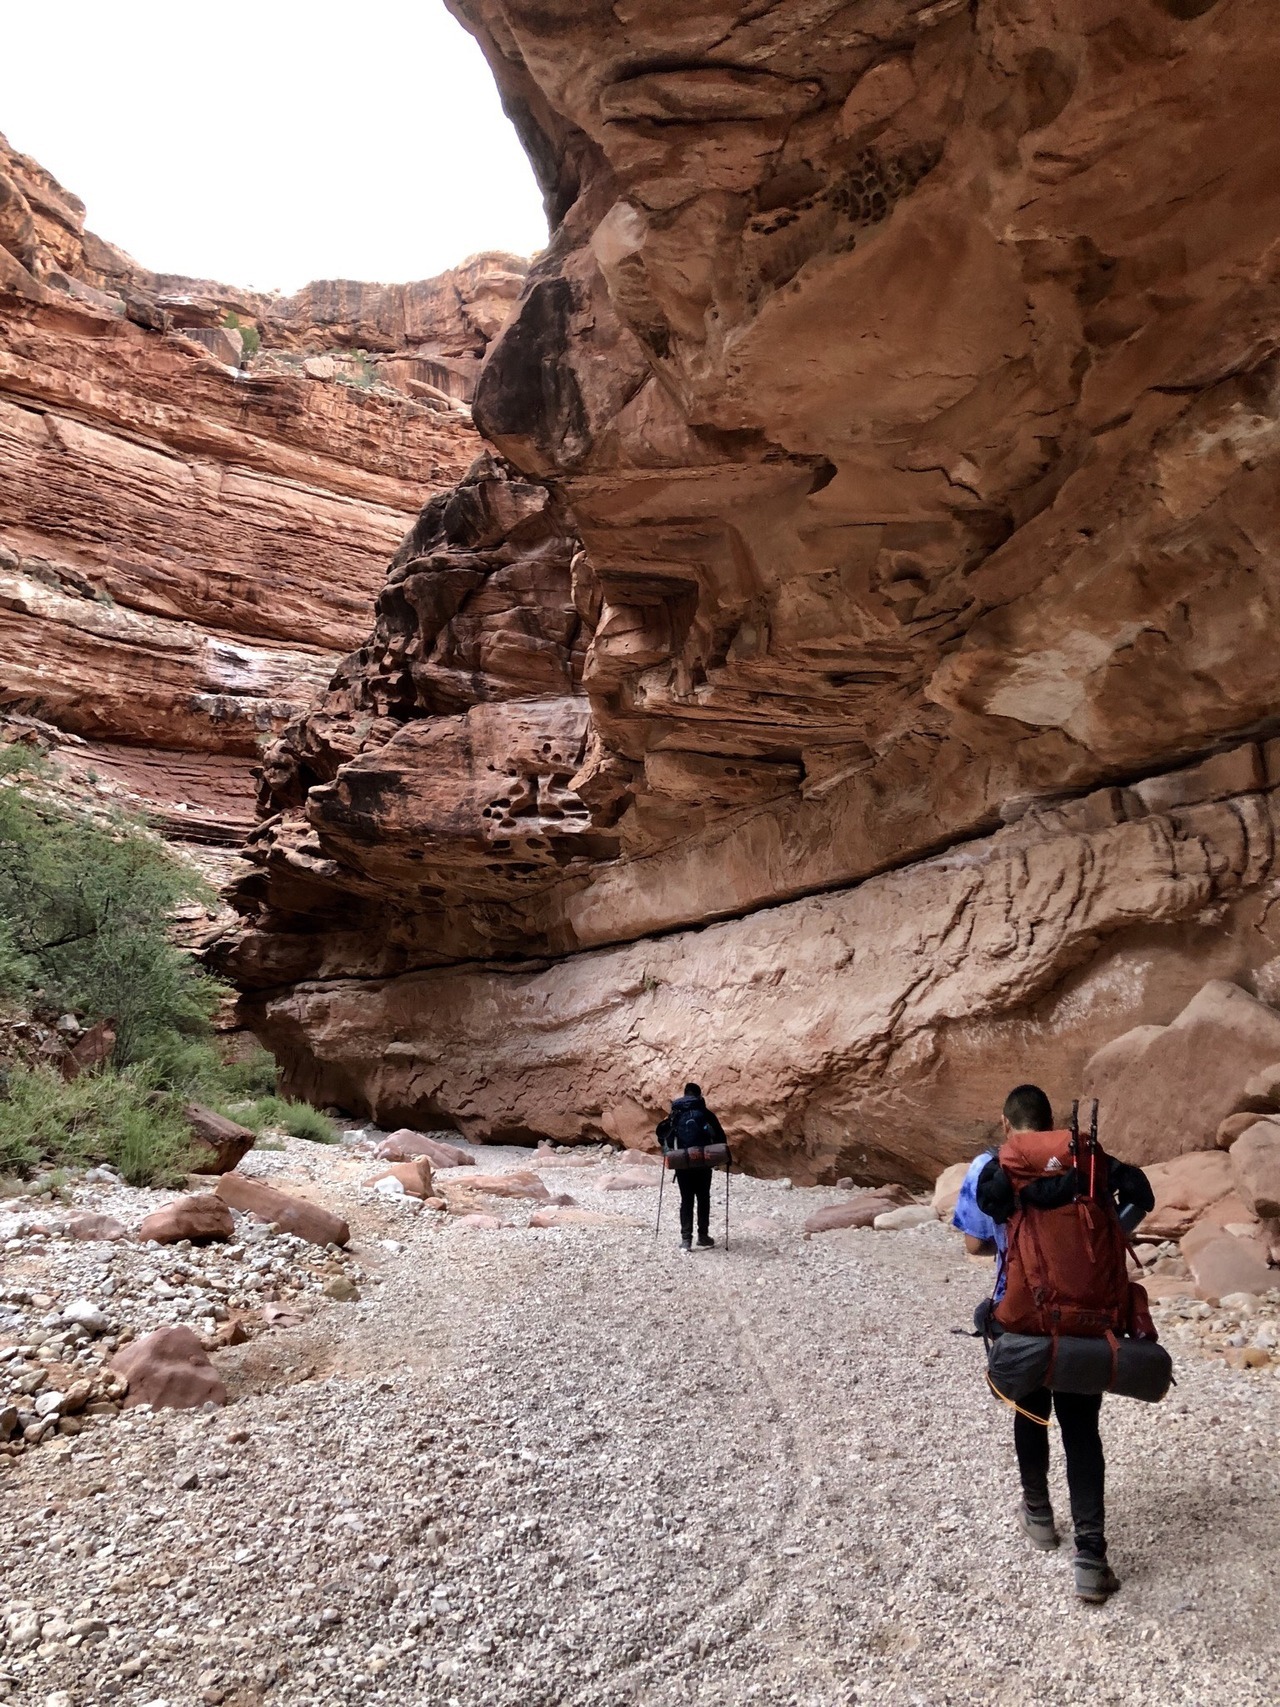
The Havasupai Tribe forbids day-through Havasu Falls hikes. To hike to Havasu Falls, you must purchase a 3-night/4-day camping permit instead of a 1-2 night ticket.
Do this via the Havasupai reserve system’s website when purchasing camping permits for your Havasu Falls hike. If you attend on certain days of the week, tickets might cost anything from $300 to $375 (weekends are more costly). The number of permits sold each day is limited to 300, and when they go on sale on February 1st each year, they sell out fast.
So OK: it’s kind of expensive, but it’s also never too crowded, which is the plus of purchasing tickets in advance.
It’s a good idea to have the following information on hand before attempting to make a reservation:
- The name on the reservation. Reservations can only be confirmed if they are presented to Supai Village’s Tourist Check-in Office with a valid ID by the individual on the reservation;
- Your preferred dates. Prepare a few selections before making your reservation. You may not secure your first, second, or third pick, so plan ahead of time;
- A payment method. Reservations are non-refundable, non-transferable, and you can’t modify them once they are made;
- You and your companions’ total number (you can’t change this later either)
- Where you intend to rest your head at night (more on that shortly – there are a few different options)
The Havasupai Policies
These guidelines apply to visitors to Havasupai when hiking Havasu Falls:
- Please refrain from photographing Havasupai’s citizens or community
- Your permit does not enable you to remain longer than the allotted time
- Please don’t bring more individuals than the number of persons permitted on your ticket
- Practice the leave no trace (LNT) principles
- Nudity is strictly prohibited
- There will be no trekking at night, except for the hike in and out
Havasupai also forbids the following:
- Alcohol (it will be confiscated if discovered)
- Wood-burning fires (propane stoves, on the other hand, are acceptable)
- Drones (it will be confiscated if found)
- Major waterfall cliff-jumping
- Rock-climbing
- Off-trail hiking
- Music played loudly
- Littering (unfortunately, you’ll notice a lot of other people’s rubbish littering the place)
Havasupai and Havasu Falls are no longer open to day visitors. Before, it was possible to visit Havasupai on a 20+ mile day hike, but that option no longer exists today.
Havasupai tribal members can issue penalties and accompany day hikers off the reservation without their consent. So trust me: you don’t want to try and get around these rules. It’s definitely not worth it.
When Is the Best Time To Go to Havasu Falls?
Havasu Falls permits are available from February to November, and the busiest months are May to September, with the monsoon months between July and August.
But that’s simplifying it since there are so many variables when hiking Havasu Falls. Here are more details about visiting each month.
February to April
During the colder months, the weather might be chilly, making it difficult to go for a swim. The Havasu Falls hike in (and back) will be considerably more pleasant in the colder months since the trail is mainly open to the sun. You’ll need to make sure that you have appropriate clothing and bedding since the nights can get cold.
May to June
It’s slightly warmer, but it might also be a little buggier. The average temperature in June is 96°F.
July to August
Havasupai receives the warmest temperatures during this period, with an average of 37℃/99°F. However, this is also the monsoon season and the busiest period for obtaining permits, even though the heat is extreme.
September to November
Temperatures can still be pretty warm in September but anticipate cooler temperatures in October and November and the chance that it could be freezing to swim depending on the year. Hiking Havasu Falls in the fall is definitely more of an adventure and less of a leisure vacation.
The ideal months to hike Havasu Falls are April, May, and October if you want the best of all worlds: mild temperatures that may yet urge you to take a dip in the water.
Remember that rain does not always imply the canyon is closed. Also, during the summer, when conditions are drier and the soil less able to absorb precipitation, flash floods are more likely to occur.
Getting to Havasupai
Getting to Havasupai isn’t always easy, but the reward is worth it! For Havasupai’s trailhead at Hualapai Hilltop, public transit is unavailable. To visit Havasupai, you’ll need to fly into one of these locations:
Major Airports
- Las Vegas, Nevada (if you’re looking for a convenient airport, this is the best choice getting to Havasupai)
- Phoenix, Arizona
- Albuquerque, New Mexico
Minor Airports
- Flagstaff, Arizona (even though this is the nearest airport, flying into it might be exorbitantly expensive)
To get to the Hualapai Hilltop trailhead at the end of Indian Road #18 in Arizona, you’ll need to hire a vehicle from one of these airports. From AZ 66 on the eastern edge of Peach Springs, go north on Indian Road #18 for approximately 60 miles (80 minutes).
Hualapai Hilltop trailhead is 170 miles from Flagstaff, Arizona, which takes around 3.0 to 3.5 hours to drive.
Las Vegas, Nevada to the Hualapai Hilltop trailhead is 221 miles, which takes around 4.0-5.0 hours to drive.
Phoenix, Arizona, to the Hualapai Hilltop trailhead is a 260-mile trip that takes between 4.5 to 5.5 hours of driving.
To get to the Hualapai Hilltop trailhead from Albuquerque, New Mexico, you’ll need to drive 490 miles for 7.5-8.5 hours.
Although the Havasupai Reservation is near Grand Canyon National Park, no highways lead there.
There are two primary routes to Havasupai from the Hualapai Hilltop trailhead:
- 8-mile hike (one-way) to the Supai Village, followed by a 2-mile trek (one-way) to the campsite past Havasu Falls; and
- A 15-minute helicopter flight to the Supai Village, followed by a 2-mile hike (one-way) past Havasu Falls to the campground.
The majority of visitors to Havasupai take the scenic route on foot. Helicopters are a possibility; however, there are several things to keep in mind:
- No helicopter bookings are available, and flights are available on a “first-come, first-served” basis
- Helicopter flights generally need a long wait time. Someone waited for seven hours, according to one report
- Bring cash even though some people say credit cards are accepted if you’re taking a helicopter ride
- For some reason, figuring out when the helicopter will take off is very hard since it doesn’t fly every day
Tips for Reaching the Trailhead
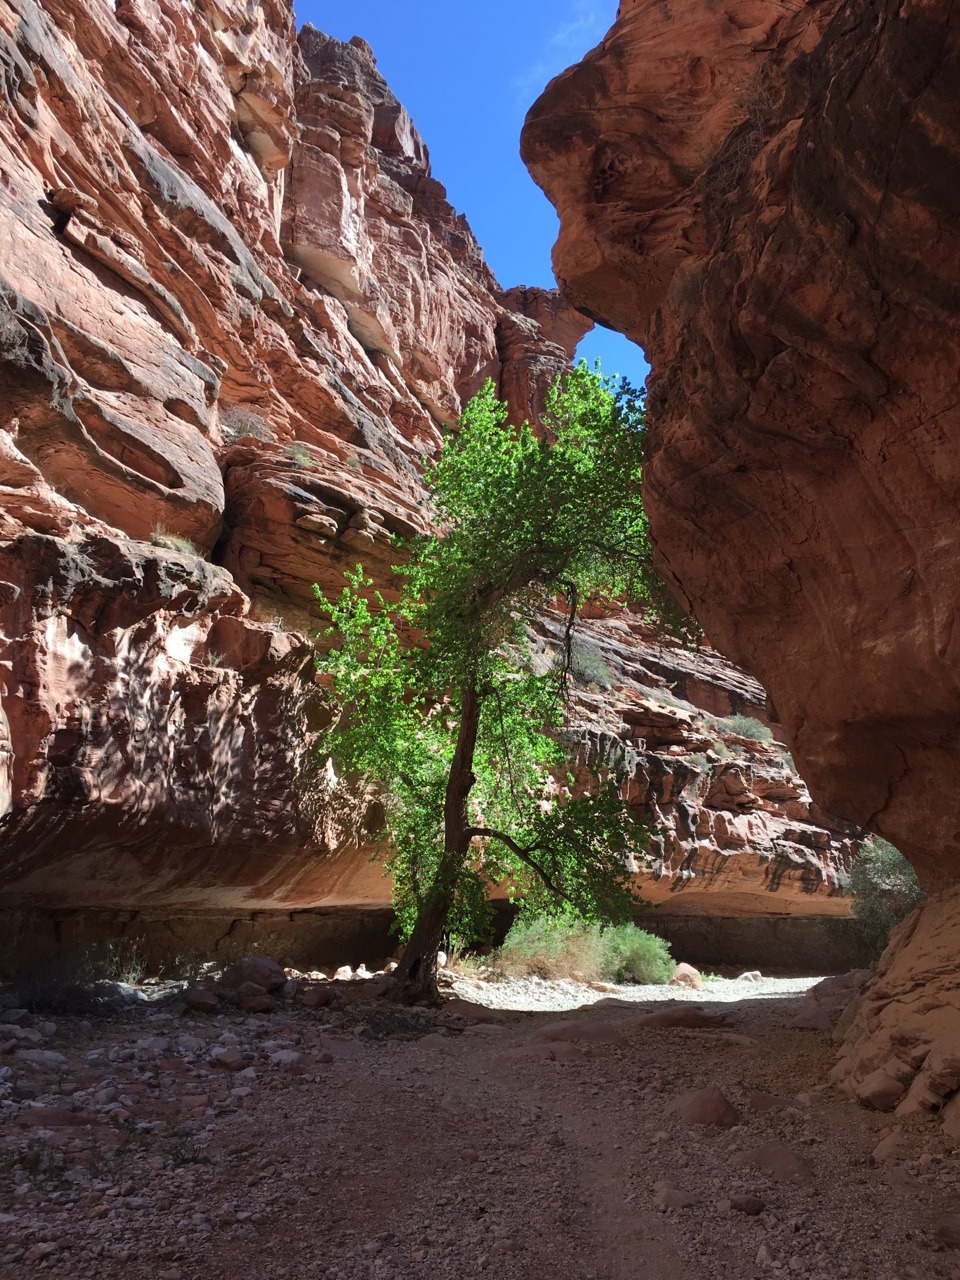
It would be best to stop for gas before heading to the trailhead. That road is 60 miles long, and you’ll need another 60 miles to go back to the main road, so you’ll need at least 120 miles of gasoline in your tank. I can’t stress this enough when planning your Havasu Falls hike! It would suck to be stuck without gas.
Maintain vigilance. There are enormous animals on the route, like moose, cows, and deer, that can easily wreck your vehicle if you aren’t cautious while driving to the trailhead.
Keep an eye out for pebbles that can fall and damage vehicles if you park too close to the trailhead itself.
When you get to the village, you’ll need your license plate number, so snap a picture or write it down.
The trailhead does not have water, so bring your own.
Note that a mule ride to Havasupai is possible, but it’s pricey, and there are weight restrictions. If you want more information about a mule rental guide, you can go to the official website of Havasupai Tribe.
Lastly, neither powered nor mountain bikes are permitted in Havasupai.
Where To Sleep Before Havasupai?
The following hotels are the nearest to Hualapai Hilltop (the trailhead for the Havasupai hike):
Grand Canyon Caverns’ Inn
At the entryway to the Grand Canyon Caverns, situated in Peach Springs, Arizona, there is a 48-unit hotel room. It takes 66 miles and 80-90 minutes to travel from the trailhead. This is where we usually stay when hiking Havasu Falls (the night before).
Hualapai Lodge
It is also located in Peach Springs, where it offers 54 rooms in all. From the trailhead, it’s around 68 miles and takes about 80 to 90 minutes to travel.
There are several accommodation options in neighboring Kingman, Arizona (approximately 120 miles) and a couple in Seligman, Arizona (about 90 miles) in addition to the two hotels mentioned above.
There are also various campsites in Seligman and Kingman, including KOA Kampgrounds in both places.
Supai Village
You’ll be at the Supai Village in no time at all. You can’t miss it since it’s located along the primary route in town and well-marked. It’s tiny, and you’ll see some residences, a small shop, a school, a restaurant, the lodge, and a few other structures. Check-in and obtain your wristband and tent tag at the tourist office.
Fill your water bottles at the water station near the office, which also serves as a pleasant rest stop before the last push to the campsite. Feel free to explore some, but keep in mind that this is their home, so be kind. You are not permitted to capture the region, particularly the individuals who reside there.
There are barely two miles remaining on the trek at this point. On your route, there are a few lesser waterfalls worth seeing that give you a taste of what’s to come. There are several unique rock formations worth studying in this region.
You’ll see the gorgeous Havasu Falls on your right as you enter the campsite, which is up a somewhat steep climb. Have a few moments to admire how beautiful it is and take some photos since this is an excellent viewing location.
Where To Camp?
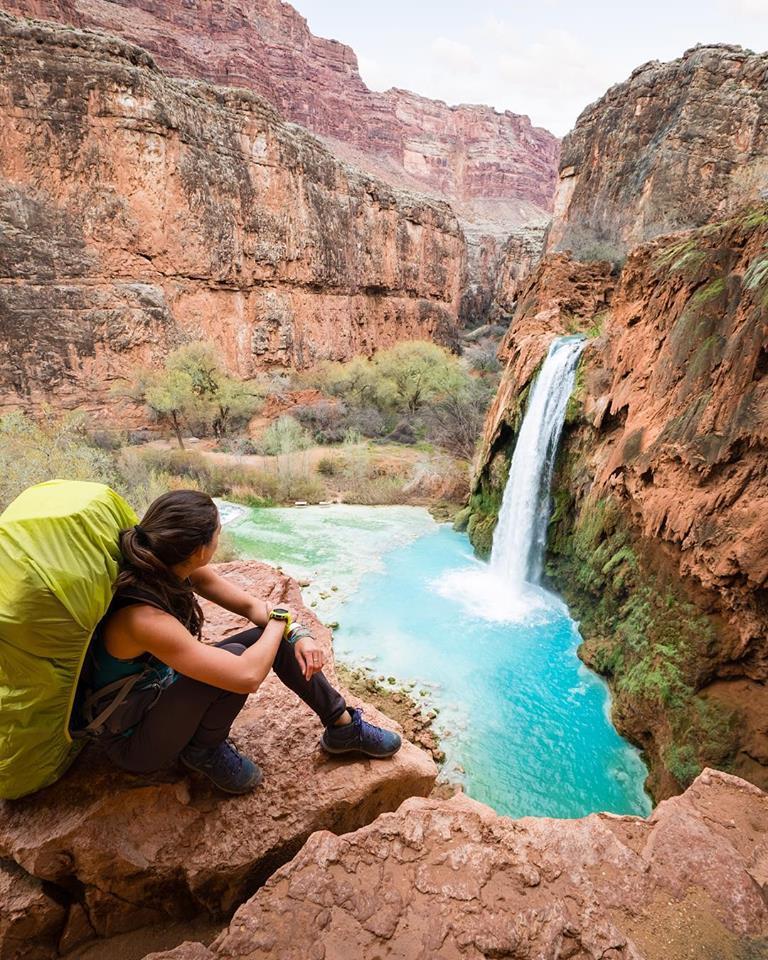
The Havasupai campground, located on the banks of Havasu Creek, is a lovely spot to spend the night. We definitely recommend camping when hiking Havasu Falls!
All of these amenities are available at the campsite.
- Several campsites are level and well-shaded
- There are a plethora of trees to hang a hammock
- Toilets that use compost as waste
- Picnic tables (not every site has this)
- A Fern Spring on the western side of the canyon provides drinking and cooking water; watch for water coming out of a pipe
- Havasu Falls, Mooney Falls, and a slew of minor falls and swimming areas are all within easy reach
A “distributed” kind of camping allows campers to set up camp in whatever location they like. Campsites are available on both banks of Havasu Creek. Some temporary wooden bridges will enable you to cross the stream safely.
Havasupai does not allow you to book a particular campground. First-come, first-served is the rule for all sites. Campsites with a picnic table are available at a limited number of spots, so groups will have to move throughout their stay to find a better location.
Havasu Falls campsite is around 0.2 miles downstream and stretches for 0.3 miles. At the very end of the grounds, you will locate Mooney Falls, a beautiful spot to explore. You can pitch a tent anywhere you choose between the camp and the last pit toilets above Mooney Falls. There are no camping options below Mooney Falls and upstream of Havasu Falls.
A lot of people come to the campsite. Any night of the week, up to 300 individuals can camp here. Due to a shortage of more private areas on popular evenings, other groups can choose to camp extremely near you.
You must be extra cautious with your food and equipment at the campsite. Critter bags, bear canisters, or sturdy plastic buckets (with full closures) are excellent choices. In particular, mice, raccoons, and squirrels can be ruthless in their pursuit of a free meal.
The creatures can or will eat your backpacks, tents, coolers, plastic water bottles, and other items. Please do not disregard this warning; folks lose meals and have their gear damaged every night because of these animals. Put a massive boulder on top of a sturdy plastic bucket if you’re using one.
While camping immediately by Havasu Creek might be nice, we don’t suggest it during the rainy season (July to early September). We recommend camping on higher ground at this period (if you can spot it; there are just a few upland campsites).
What To Bring – Packing List for Havasu Falls
Reduce the amount of stuff you bring with you. There are pack mules and helicopters that can bring your luggage down for a price, but we recommend you carry your luggage right to the campground!
If you can’t carry your gear down the falls (with obvious exclusions), you shouldn’t be hiking to the falls, or you should lighten your load.
Here are the essentials you need when you hike Havasu Falls:
Tent/Hammock: To conserve weight, we opted not to pack a tent but instead slept in our hammocks.
Cameras and Other Equipment: Take a picture of this breathtaking scene. In addition to a camera and lenses, we also carried a Go-Pro camera and a portrait lens for taking close-up images, and a wide-angle lens for capturing landscapes (NOTE: Drones are prohibited, but tripods are allowed).
Hiking Shoes: We recommend hiking boots with ankle supports.
Water Shoes: The canyon is rocky and slippery, and at the bottom of the rivers you’ll be going through, so we recommend bringing this stuff. Take a pair of Chaco or any other form of water shoe on your explorations. From the town of the tribe to the campground, the last 2 miles are all sand, and walking in hiking shoes through this terrain becomes quite tricky. Sandals will be a tremendous assistance, believe us.
Outfits: It’s okay to re-wear clothing while you’re down at the falls, but you’ll want a new pair for your two significant hiking days, especially socks.
Hat: It will be sunny, so wear a hat and sunscreen to be safe.
Food: Some meal options are available within the Grand Canyon, but they are inconsistent, and you do not want to travel to the Grand Canyon’s bottom without sustenance. It’s vital to pack electrolytes and dry fruit, but you should also bring your favorite snacks.
Water: A half-gallon water supply is sufficient for the first 10 miles, but you will need to replenish it when you get to the campground. We are advised to carry filters, but we didn’t use them and were okay.
First Aid Kit: Ensure you pack a lot of bandaids since it’s almost impossible to go this far without getting a single blister.
Bug Spray: We highly recommend that you use bug bands. It has a milder odor and is much easier to handle than traditional materials.
Blanket: Even while it did not seem like it would be so chilly, the wind chill and night with just an added effect to block the cold makes you want to snuggle up.
Charger/Battery: If you forget to put your phone into airplane mode when visiting the Grand Canyon and hiking Havasu Falls, it is still a good idea to pack a charger in case your phone runs out of power while you’re there.
Flashlight/Headlamp: A headlamp or flashlight can come in handy if you go out before sunrise when hiking Havasu Falls.
Quick-dry Towel: You need this to wipe out your sweat during your hike.
Toiletries: Avoid taking a bath in the water. Don’t contaminate their water by using your chemicals since the tribe performs an excellent job protecting the water.
Photography Tips:
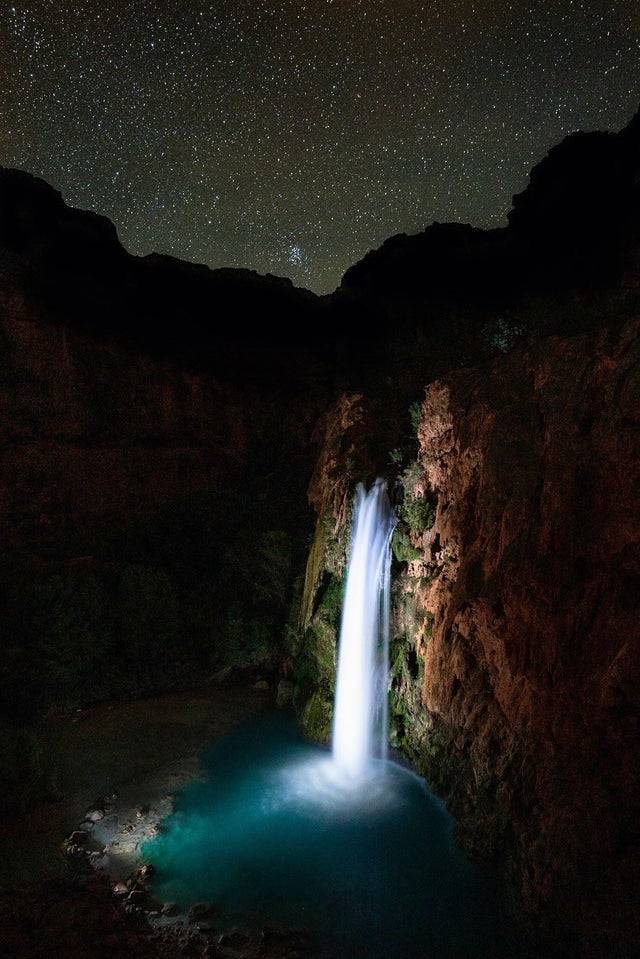
It is a photographer’s dream! The Havasu Falls Trail is a great place to take stunning photographs. For the most fantastic Havasu Falls photos, here are a few tips:
Learn Long-exposure Photography: Long exposure photographs offer the illusion of movement in the image, such as water flow, and enable night photography. Depending on your camera, you can access advanced capabilities like long-exposure photographs. Get to know your camera.
Get a Tripod: Bringing a tripod can assist keep your camera stable for long exposure photographs and keep it dry. We shot pictures in the water to properly frame the waterfalls.
Bring a Powerful Light if Shooting at Night: If you’re interested in hiking Havasu Falls, bring a stronger light than your headlamps, such as a bike light or an LED flashlight. These additional lights might assist expose a night photograph or highlighting a specific subject in the photo.
Pack a Wide-Angle Lens: On this trip hiking Havasu Falls, a wide-angle lens can help depict the size of several waterfalls.
Grab a Lightweight Camera Case: It’s a damp environment and a steep climb at points, so carry a hand-free camera bag.
Bring a Waterproof Camera Like a GoPro: A GoPro HERO4 Silver with water housing is a terrific alternative if you want to go more in the water with your camera.
For Pictures, Wear Bright Colors or Swimwear: The rocks of Havasu Falls are brilliant blue and red, so wear colors that contrast with them.
Wait for the Ideal Shot: The Havasu Falls trail is a popular hike, so expect to share the course with other hikers. Unless you are an expert at Photoshop, try waiting a few minutes or getting up early than others to photograph the falls alone.
Use Your Phone To Snap Photos: Nowadays, you can shoot excellent shots even with a phone. Many modern phones, like the iPhone, have lengthy exposure and water resistance. To be safe, we suggest packing a waterproof phone case.
The baby blue tint of the falls is stunning in any light, but we preferred it with a bit of cloud cover. If you go in March, much of the weather is like this. When the sun hit the falls, they were utterly bleached out to our camera but remained stunning to the naked eye.
The weather is unpredictable, so we avoid photographing the falls during noon. Photography is best done early in the morning or late in the day. It was approximately 4 pm when we arrived in Beaver Falls, ideal. If you don’t, you’ll end up with unsightly shadows.
If you travel to Beaver Falls in the afternoon, make sure you get back to camp before dark. Don’t forget about the spooky ladder at Mooney!
It’s a once-in-a-lifetime opportunity to backpack Havasu Falls. We hope this article has you in your preparations for your hike to Havasu Falls.

